Something really good these days is that one can get one-off custom greetings cards made from your own artwork by uploading an image file to a website of a business that provides this service, fill in some details, pay a fee and the card will be sent by Royal Mail, either to yourself or to someone to whom you choose to send the card.
The cards can be produced full field, which is like cards bought in the shops wher the picture goes to the edge of the card. This is achieved by printing onto card a little larger than the finished product, then chopping off what is known the bleed area.
Requirements as to size of artwork vary from site to site, as does whether the card has a matt finish or a glossy finish.
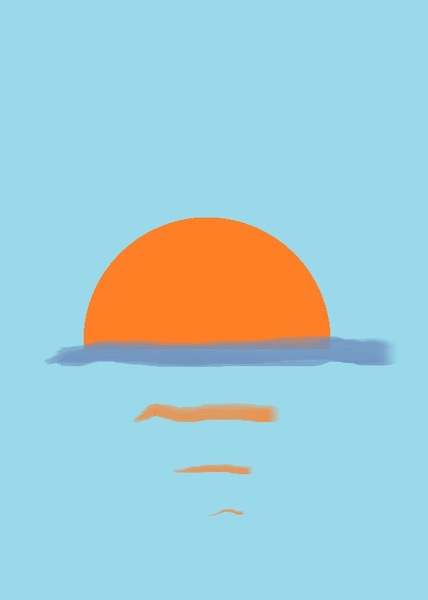
However, as an example, here is a picture that could be used for an A5 size portrait orientation card, with a 3mm bleed area at each edge of the artwork, though chopping will only be on three edges as the other edge is the fold in the greetings card.
So A5 portrait is 148 mm wode by 210 mm high.
So, addong a 3 mm wide bleed area at each edge is 154 mm by 216 mm.
So, having started the Paint program, we do
File New to get a picture of some size, then we do
File Properties and on the dialogue panel that becomes displayed, we choose Centimetres, because millimetres is not an option, and we set the width to 15.4 cm and the height to 21.6 cm.
This has the effect of making the canvas area of the picture larger than the screen.
So we can do
View Zoom out to get the whoe canvas displayed on the screen.
If using the picture that you draw to produce a custom greetings card, you may need to export the image as a jpg file, sometimes listed a JPEG file.
This is because the sites are marketed to use images that are photos, which could have been taken using a digital camera or using the camera of a mobile phone. However, it is not a photograph as such that is printed, but a computer file that contains the information of an image, so the image can be one produced on a computer.
So this example uses a jpg file.
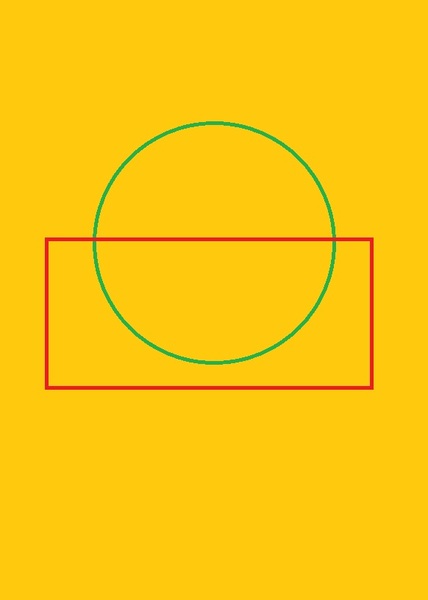
The picture uses an orange circle, with a rectangle of a different colour drawn over its lower half. This allows a semicircle to be filled with orange. The rectangle is then filled with orange so as to absorb the lower half of the circle, then the rectangle is filled with the same colour as it was drawn, then the rectangle is filled with the background colour, thus leaving the filled orange semicircle alone on the background colour.
Then the watercolour brush is used at various thicknesses to complete the picture.
The picture is then saved as a jpg file.